
Overview
Amendments are created for approved protocols when any part of the protocol requires a change. Depending on the type of change, the amendment may or may not need to go through the full review process.
Important Information
Personnel, Scientific, and PI Change amendments require updates to Animal Handling Details.
There are four types of amendments, allowing multiple amendments to be processed simultaneously depending on the type. Protocols can have one each of Personnel, Funding, and Scientific amendments open at a given time.
- Personnel Amendment – Unlocks the non-PI Personnel page for changes, such as adding or removing lab staff listed on the protocol, or updating permissions for lab staff. Requires administrative review for approval.
- Funding Amendment – Unlocks the Funding page for changes to the external and internal funding sources. Requires administrative review for approval.
- Scientific Amendment – Unlocks the Species and Procedures pages for changes, such as goals, protocol description, or animal justification. Requires committee review.
- Principal Investigator (PI) Amendment – Unlocks the full protocol for changes, such as changing the PI to another valid PI. Requires committee review.
To create a Principal Investigator (PI) amendment, no other amendments can be open on the protocol, and no additional amendments can be added while the PI amendment is open.
Only personnel with edit rights on the protocol can start an amendment. The PI is the only person who can submit an amendment for review.
Step-by-Step Process
Personnel Amendment (Add, Update or Delete Personnel)
- From the Approved Protocol workspace, click the Create Personnel Amendment button.
- Click Finish.
Note If you do not want to create a Personnel amendment, click Exit (close without Saving) to return to the protocol page. - Click Edit Amendment.
- Make the necessary changes to the Personnel information by clicking Add, Update, or Delete as needed.
Note See Add Personnel – Step-by-Step Procedure for detailed steps on working with personnel data.
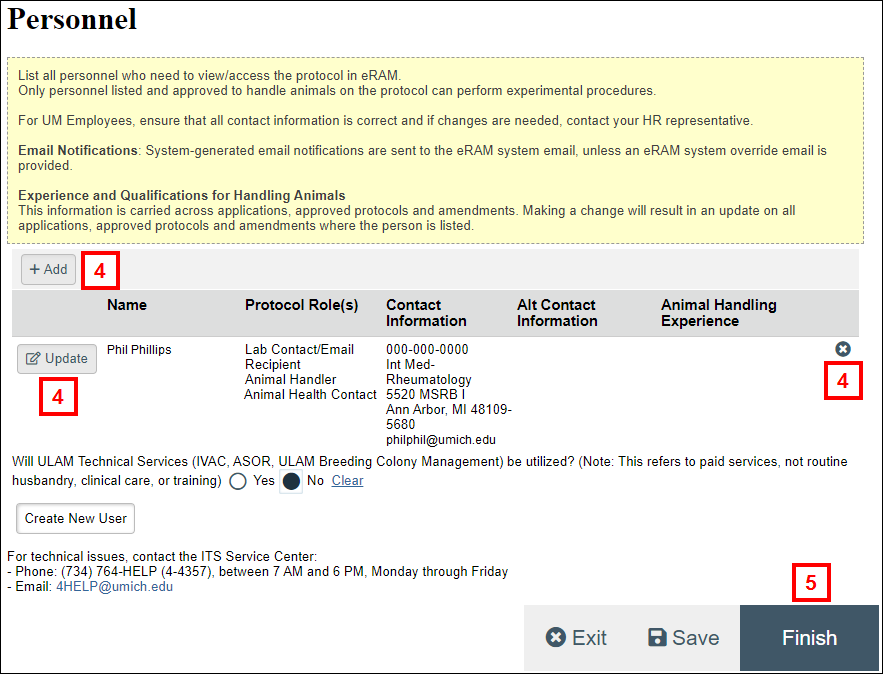
- Click Finish when finished making changes.
- Click Submit Amendment under Activities.
Notes- Error checking is performed on the amendment when it is submitted. If any errors are found, a list displays. All errors must be resolved before the amendment can be successfully submitted.
- See Add Animal Handling Details – Step-by-Step Procedure for detailed steps on working with animal handling details.
- Click OK.
Funding Amendment (Add, Update or Delete Sponsor/Funding)
- From the Approved Protocol workspace, click the Create Funding Amendment button.
- Click Finish.
Note If you do not want to create a Funding amendment, click Close without Saving to return to the protocol page. - Click Edit Amendment.
- Make the necessary changes to the External Sponsor/Funding Sources and/or Internal Sponsor/Funding Sources information by clicking Add, Update, or Delete as needed.
Note See Add Sponsor/Funding Information – Step-by-Step Procedure for detailed steps on working with sponsor/funding data.
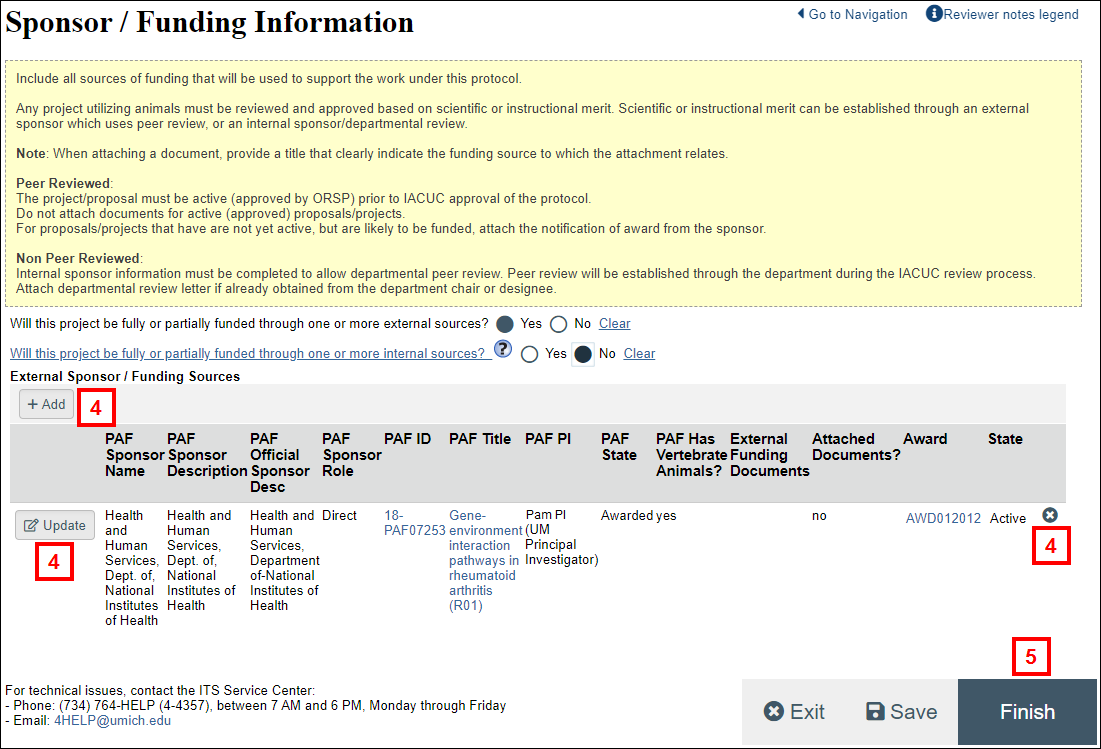
- Click Finish when finished making changes.
- Click Submit Amendment under Activities.
Note Error checking is performed on the amendment when it is submitted. If any errors are found, a list displays. All errors must be resolved before the amendment can be successfully submitted. - Click OK.
Scientific Amendment
- From the Approved Protocol workspace, click the Create Scientific Amendment button.
- Click Finish.
Note If you do not want to create a Scientific amendment, click Close without Saving to return to the protocol page. - Click Edit Amendment.
Note A scientific amendment allows the data on the following pages to be changed: General Information, Species, Location Information, Procedures, Procedure Summary, Adverse Consequences, Use Justification and Alternatives. - Click Continue or use the Navigation menu to navigate to the appropriate scientific page.
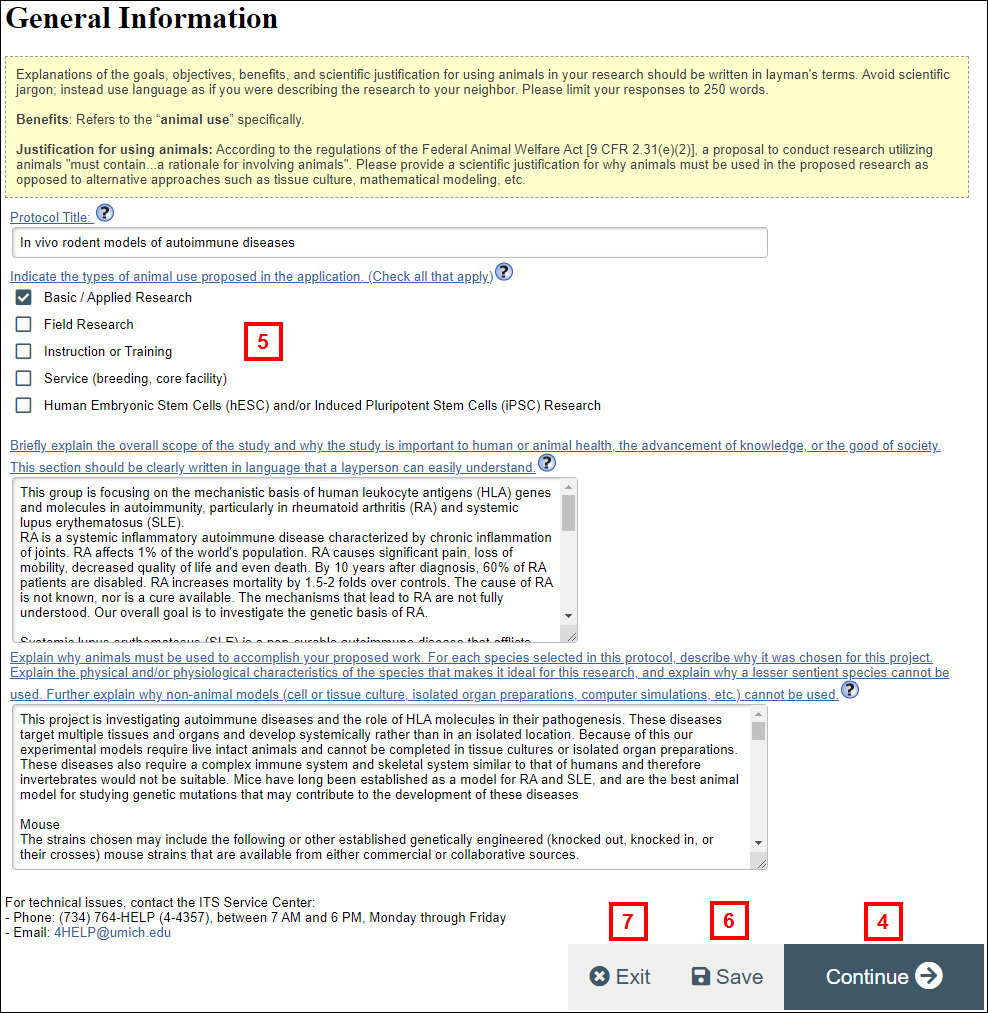
- Make all necessary changes on the page.
Note See the following documents for detailed steps on working with scientific data:- Add Species – Step-by-Step Procedure
- Add Locations – Step-by-Step Procedure
Note Repeat steps 4-5 until all scientific changes have been made.
- Click Save.
- Click Exit.
Note Click Yes if a Save Before Exiting dialog box displays. - Click Submit Amendment under Activities.
Notes- Error checking is performed on the amendment when it is submitted. If any errors are found, a list displays. All errors must be resolved before the amendment can be successfully submitted.
- See Add Animal Handling Details – Step-by-Step Procedure for detailed steps on working with animal handling details.
- Click OK.
Change PI Amendment (Add, Update or Delete PI)
- From the Approved Protocol workspace, click the Change PI button.
- Click OK.
Note If you do not want to create a PI amendment, click Close without Saving to return to the protocol page. - Click Edit Amendment.
Note A PI amendment allows the data on all application pages to be changed. - Click Continue or use the Navigation menu to navigate to the appropriate application page.
See the following documents for detailed steps on working with application data:
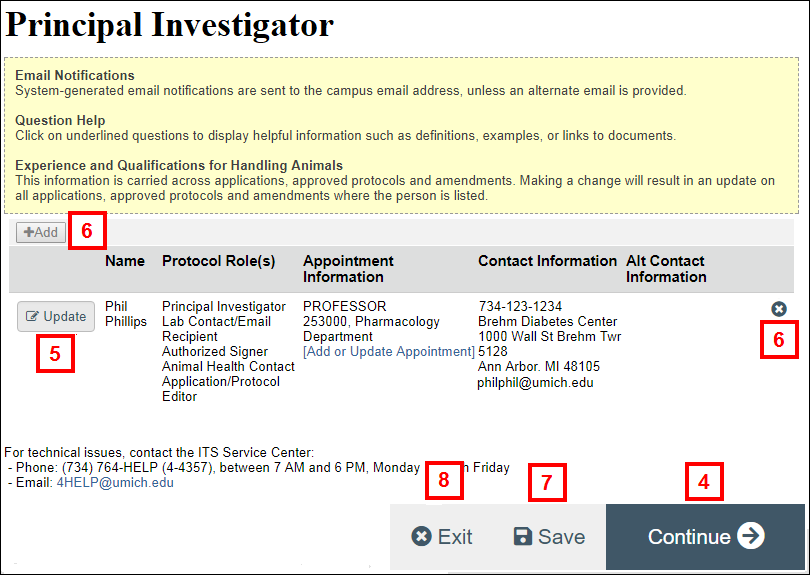
- If you wish to update details for the listed PI, click Update.
- If you wish to replace the PI, you first must click Delete to remove the listed PI, and then click Add to add a new PI.
Note See the Add a Principal Investigator — Step-by-Step Procedure for detailed instructions. - Click Save on each page when you’ve finished making changes.
- Once all changes to all pages are complete, click Exit.
Note Click Yes if a Save Before Exiting dialog box displays. - Click Submit Amendment under Activities.
Notes- Error checking is performed on the amendment when it is submitted. If any errors are found, a list displays. All errors must be resolved before the amendment can be successfully submitted.
- See Add Animal Handling Details – Step-by-Step Procedure for detailed steps on working with animal handling details.
- Click OK.