
Reading Ernie Pfannenschmidt’s article in the April 2003 issue of Sky and Telescope about using crutches to make a tripod brought back memories of many similar tripod articles from years gone by. I decided to build one of my own to replace a pedestal I had built for a 5” f/5 refractor.
The pedestal I had built, though good looking, suffered from a horrible case of the wobbles, and took several minutes to put together, considering its small size. I wanted something quicker to set up and, of course, more stable.
Mr. Pfannenschmidt’s tripod used old fashioned wooden crutches. I employed metal units that are common today. They quickly adjust for height with just the push of a button. These were purchased at the ReUse Center of Recycle Ann Arbor for 4 dollars a pair. Except for some 1/4” oak plywood used to make the tray and 1/4” threaded rod and bolts, all other materials were left over from the old pedestal project and some home remodeling. The tools used were a power hand drill, router with circle cutting guide, saber saw, a “chop” saw (bought for the home remodeling job) and a drill press at my place of work for drilling a few holes square to the board. A cheep drill attachment available at most hardware stores could sub for the drill press.
Pictures are better than words, so I will let them explain most of the details.
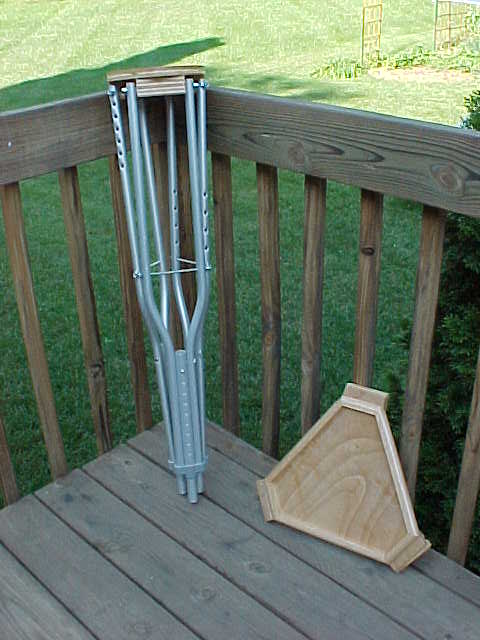
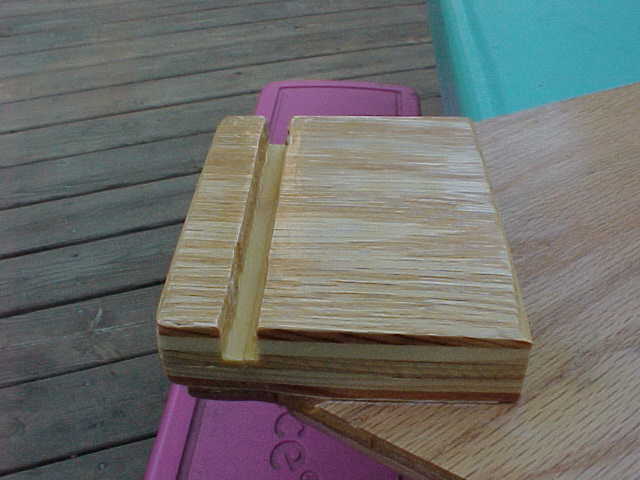
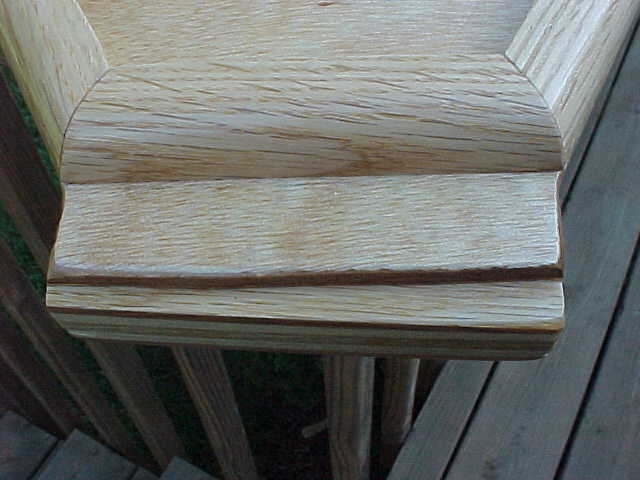
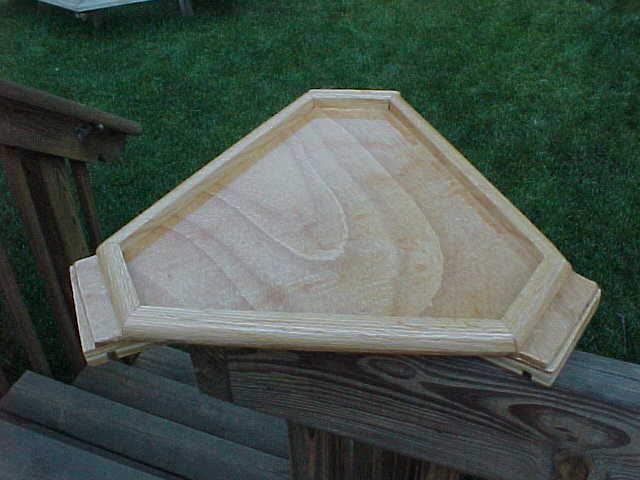
The tray (fig4) is made from 1/4” plywood and some quarter round trim. Three pieces of 3/4” plywood with groves in them on the underside of the tray (fig2) fit snugly onto treaded rods on the legs (fig6). The tray’s purpose is not only to hold items but mainly to keep the tripod legs form spreading or twisting. The use of hand tools prevented the ability to have very tight tolerances. (Well prevented me anyway.) The result made for some very high class looking craftsmanship (fig3). The tray goes on the tripod in just one way. Markings on the under side of the tray and one crutch leg line them up. The tripod consisted of the two pieces (fig1) that go together truly in seconds for the final assembly (fig7).
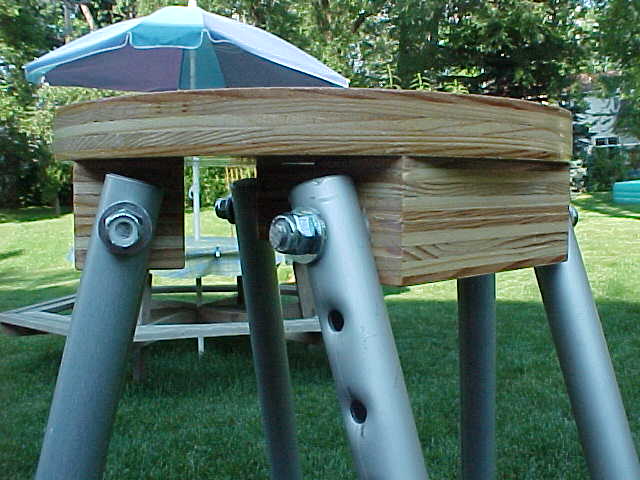
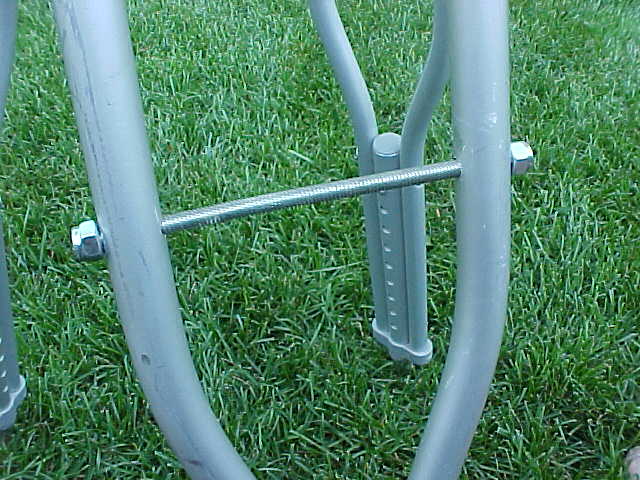

The tripod top (fig5) is a single layer of 3/4” oak plywood 8” in diameter. The blocks that hold the tripod legs are 2 layers thick with a 1/4” grove cut with the router in one and then the 2 glued together. I had a difficult job trying to drill a hole straight through the blocks even with a drill press. 1/4” threaded rod runs through the crutch leg and the block with self-locking nuts on the ends. A short piece of wood dowel was epoxied in the end of each cut off crutch top to keep it from collapsing. Existing holes in the crutches were utilized whenever possible.
The cost of the whole thing was under 25 bucks. Hardwood plywood is not real cheap. If one could not scrounge up the pieces ordinary plywood may be a better choice. If you have a whole day to yourself you could build it. The longest period of time that I had was about an hour and a half. So it took me about 2 weeks of spare time to complete once I had decided how to go about it and had made up for a couple of mistakes.
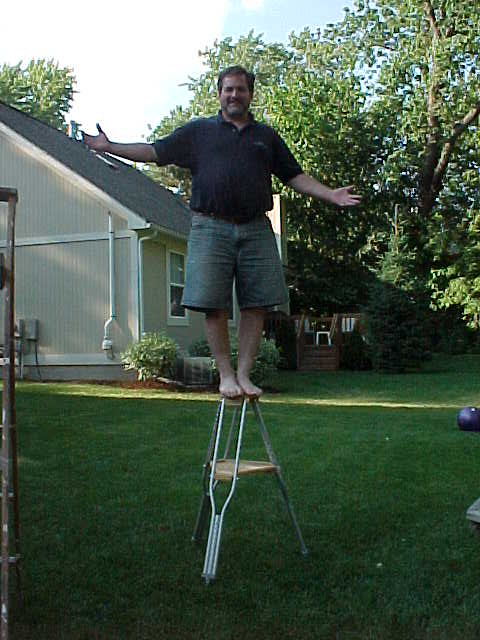
In the end the tripod is very stable and stiff. It can support far in excess of its own weight as shown in the last image (fig8). Is your commercial tripod rated for as much?
P.S. (Coming soon—What I put on top of the tripod) [See “Refractor on the Cheap.” by Doug Nelle, September, 2006.]