
I recently had the opportunity to make a pair of square mirrors, and to make them twice, because they didn’t turn out very well the first time I made them.
Everyone knows that most optical elements are round. There are several reasons for this. Round elements are easier to manufacture. They are also easier to mount, if you have lathes available, rather than CNC milling machines, which was the situation for most instrument makers throughout history. And finally, their diffractive image points are symmetric, which is both pleasing to look at and best for making measurements of the images. However, sometimes a round element will not do the job, and the optician is faced with deciding whether to grind and polish a round element and then cut chords off to square it up, or to cut the chords off first and then grind and polish a square element.
Until recently, I had only tried the first method. However, running a finished element through a diamond saw, and then grinding the edges until they are square and to size, requires an excellent surface protection tape and a great deal of luck to prevent scratches. I knew the success rate of that approach, and I decided to try the second method.
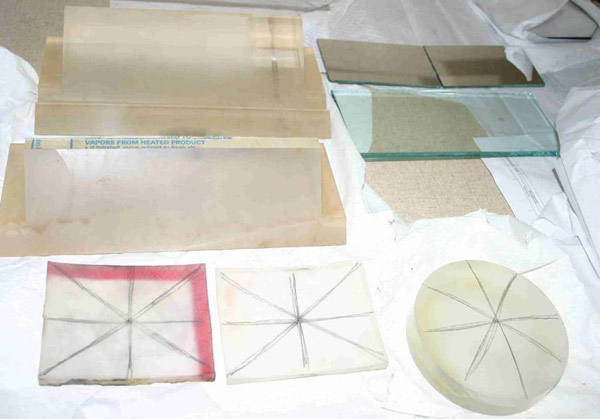
Two BK-7 optical glass blanks were purchased, cut to the correct shape on a diamond saw, ground to size, and the 12” radius curves were diamond generated on one face, the other being flat. Tooling was made, in the form of a 12” radius (round) Pyrex grinding tool, an aluminum backing plate for the mirror blanks, and a 12” radius, 6” diameter aluminum polishing tool.
The mirrors were approximately 3” x 4” x 0.375” thick, and the rule of thumb when machine polishing with the element on top is to grind and polish against a tool that is 6/5 bigger in diameter than the element. This ratio gives the optician control over the element’s radius of curvature when polishing. If the element and tool were the same diameter, the one on top would simply grow progressively more concave, as anyone who has hand-ground a mirror can verify.
The Pyrex grinding tool was 4.25” in diameter, because that was what I had available, and because the mirror and tool can be flipped while grinding to control the radius. Polishing is another matter, because flipping the elements while machine polishing is just not convenient.
But what is 6/5 of a rectangular mirror? I chose to call the mirror’s diameter the diagonal measurement, which was 5”, and this dictated a polishing tool diameter of 6”.
Because these mirrors were part of a prototype which needed to be made fast, rather than good, as long as good was good enough to prove the concept, they were ground fast and polished fast. Their edges polished out first, but a dime sized spot in the middle never did polish out. (Remember, polishing with the same size mirror and tool deepens the mirror; a bigger tool flattens the mirror out. 6/5 is neutral.)
To polish out the centers, I let the polishing machine run on for several hours, hoping for even stock removal. That didn’t happen. The centers never did polish out. Instead, the corners of the rectangular mirrors rounded off as if they had been polished on a buffing wheel. I silvered the mirrors, but the customer and I agreed that their surfaces were now far too distorted to allow us to verify the quality of the optical design.
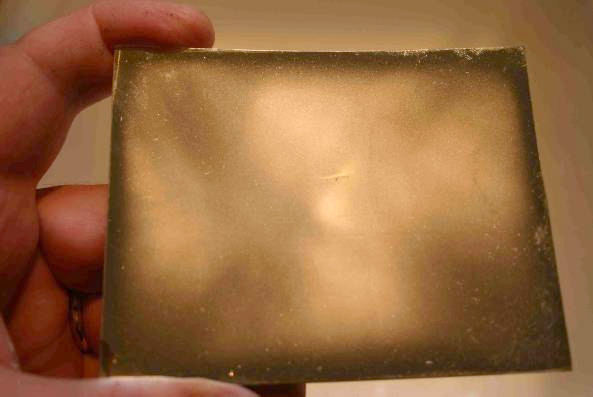
The picture does not do justice to the horribleness of the end result.
I returned both mirrors to grinding, and ensured that the correct radii were restored and the surfaces were fully ground out and spherical. However, time was passing, and the customer still wanted the design to be verified ASAP. I decided to reduce the polishing time by fine grinding with much finer abrasives.
Normally, if an optician has a week or two to produce an optic, he will diamond generate the rough curve in the glass, and then will fine grind with 30 micron abrasive, and may or may not follow that with 9 micron abrasive, before he starts to polish. This leaves a lot of glass to be removed by the very, very slow polishing process.

The reason for stopping the grinding process with 9 micron grit is that the mirror and tool tend to stick together when grinding with finer abrasive grades. Sometimes, they’ll stick with 9 micron. This happened to me when grinding these mirrors the first time, and it does not make you calmer to have the mirror and tool lock together when you have a deadline to meet. There are several methods recommended for separating the two pieces of glass. One involves placing them in the freezer overnight. I didn’t have time for that. I used a lead hammer. The plastic one didn’t work at all.
Now I planned to grind even finer with 5 micron, because a few minutes spent there can save an hour or two when polishing. The trick is to prevent the parts from sticking together. I’ve read that some people think the parts stick together because of suction. I don’t believe that. Rather, I think the glass parts are welding together.
Machinists have these things called Johanssen Blocks, or Jo Blocks for short, which are length standards they use to check their micrometers. Being length standards, the blocks are stackable and have their ends finished to optical tolerances. Even though they are not magnetic, it is possible to join these blocks, flat face to flat face, and hold them out horizontally and have them stick together, supporting their own weight, because they bond through microscopic welds. (When I showed that to family members, they thought it was a trick, and wanted to know how I did it.) The blocks can then be disassembled simply by pulling them apart. They are an example of two surfaces that share so many points that they start to think they are a solid body.
I think a similar process causes mirrors and tools to stick together. Polishing is not just a mechanical process. It has been proven to involve heat and the chemical dissolution of the glass itself. I theorized that the glass disks were dissolving on their surfaces in the water-alumina solution, and were cementing themselves together. The way to prevent this is to contaminate the surfaces with something that prevents them from bonding when they are in this very close contact.
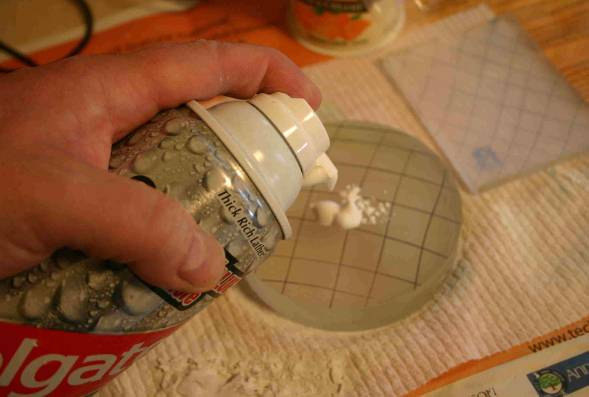
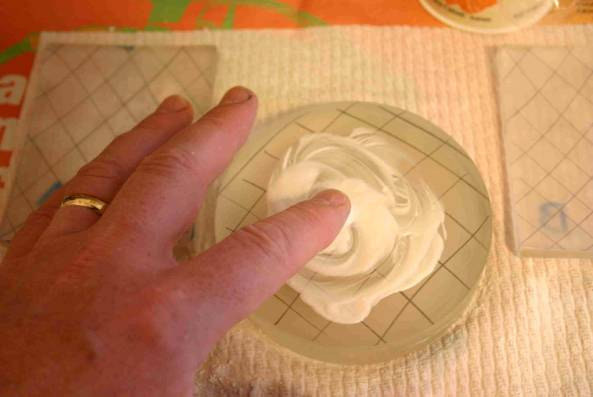
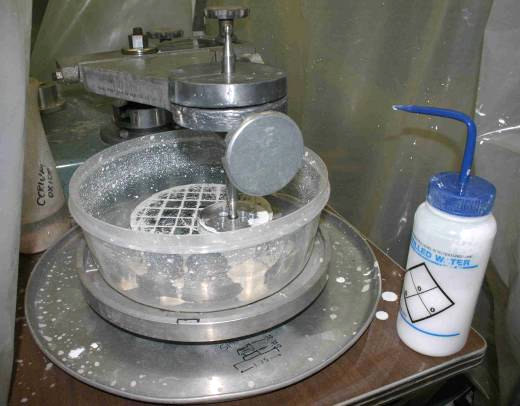
I thought a silicone-based fluid would probably work better than hydrocarbon-based oil or metal cutting fluid, and the most common silicone-based fluid available around the house on short notice is in shaving cream. I therefore switched from a water-abrasive mixture to a shaving cream-abrasive mixture. It worked perfectly.
The mirrors exhibited no tendency to stick, as long as I kept sufficient shaving cream in the abrasive slurry. The shaving cream has the additional benefit of making it easier to prevent pits, because the elements have to be pressed together harder to start the grinding, and the bigger particles can be gently ground down before they do damage.
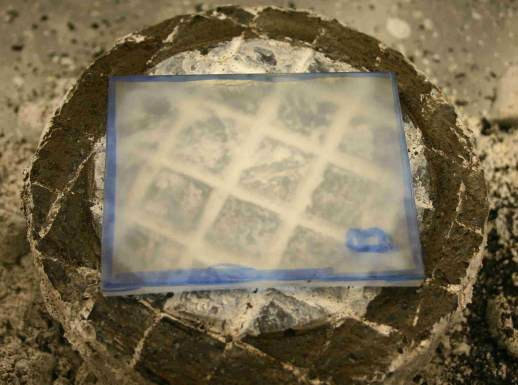
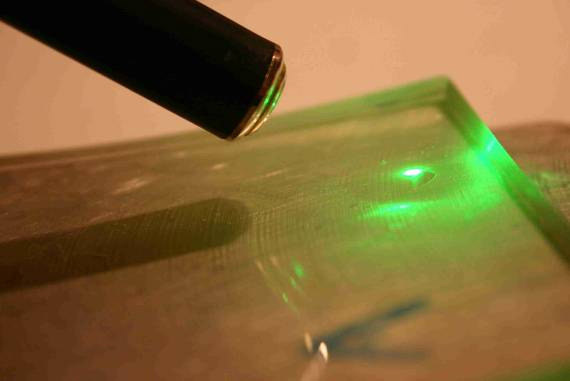
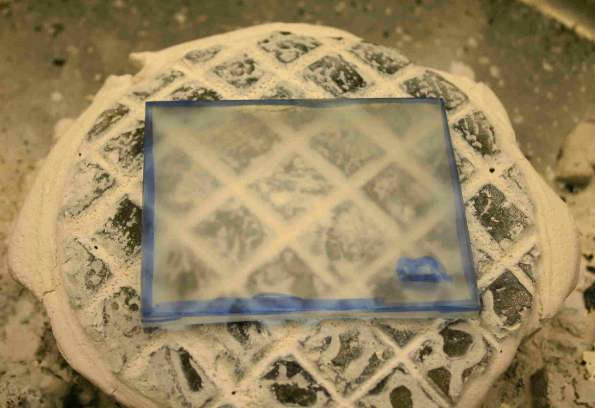
To better control the concave-convex polishing process, I cut the pitch lap down to a smaller diameter. (The first polishing attempt showed that the mirror’s effective diameter is less that the diagonal measurement.) I then slowed the polishing machine down to about half the speed at which it had been running. These changes resulted in the mirrors polishing out completely and evenly. In the picture with the laser pointer, the beam passes through the polished surface with very little scatter before hitting the ground surface on the back of the mirror. You have to look very closely to see the scatter off the front surface, and lasers are very bright.
If these mirrors had needed a laser-quality surface, I’d have polished for ten hours instead of two, and would have switched from alumina-based polishing compound to Cerium oxide. But they were for a throw-away prototype, and the customer preferred speed over absolute perfection.


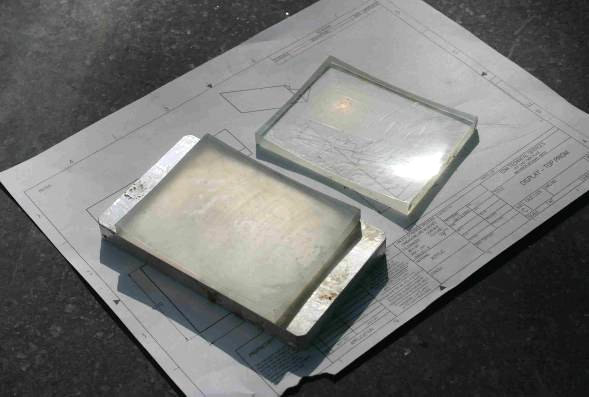
The mirrors also polished out this time with fairly sharp edges. I attribute this to the slower polishing speeds. The edges weren’t perfectly sharp, but they were pretty good for a job completed in two days, and after silvering, the mirrors proved good enough to test the prototype.
As for which manufacturing method I now prefer, I’d say the “polish-then-cut-square” method results in perfectly sharp edges on the mirror, but risks scratching the surface. I’ve never found a surface coating or tape which was 100% effective at preventing scratches to a polished surface when grinding was being done to some other portion of the part. The best defense against scratches is to do all operations of a given roughness at the same time. (And always use distilled water.)
The “cut-square-then-polish” method is a bit harder to pull off, in terms of getting the polished edge sharp and the surface figure good, but the surface polish quality is guaranteed. Which method I use in the future will depend on the circumstances. Until then, I’m going to try to stick with circular optics.