
Let’s say you have a mirror blank, and it is rough ground, or perhaps it has been diamond-generated to some curve, and you want to remove the rough grinding marks on the back of the mirror. You might want to do that because rough grinding drives fractures deep into the glass, and if your mirror is going to be subject to thermal or mechanical stresses, it will be much, much stronger if the glass is ground down (and polished) instead of being left in a rough-ground condition. So, how can you do that?
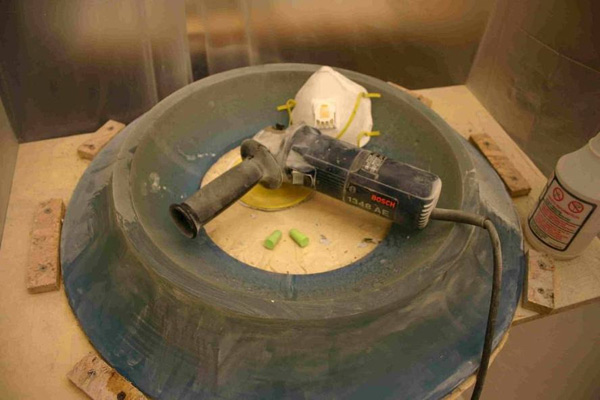
With a mini-grinder, of course. You will also need some medium-grade sandpaper (a lot of sandpaper, actually), some ear plugs (minigrinders can be loud), some water and a particulate face mask to protect your lungs from glass dust. Glass dust can be very bad for you, especially if it gets into the wrong places.
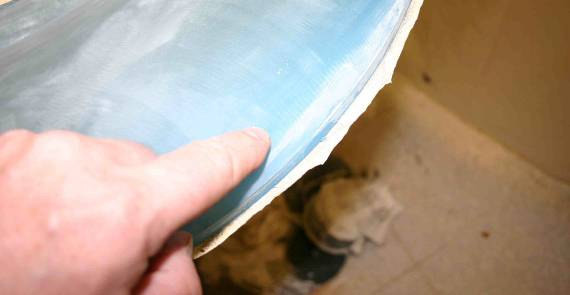
Glass dust and grit can also harm the front of the mirror, so it is a good idea to cover it with blue tape from Universal Photonics. That won’t guarantee that the surface will remain unscratched, but it will help.
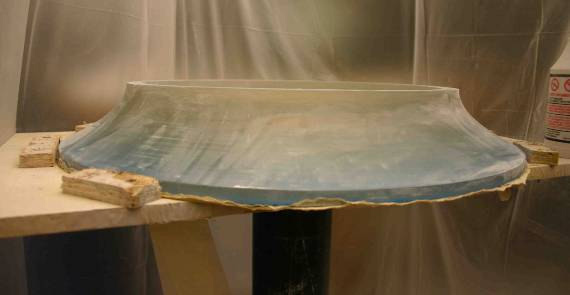
You will need a sturdy platform to set the mirror on while you grind it, and you will need to have the mirror well braced. It is very embarrassing to have the mini-grinder fling the mirror off a table onto the floor.
It is also good to surround the work area with plastic sheets to confine the sludge and dust. Grinding things with minigrinders can make an incredible mess, and you might want your wife or co-workers to allow you to do this again sometime.
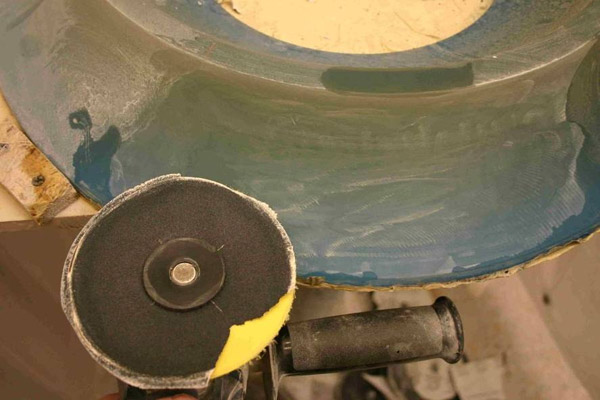
The backing plate for the mini-grinder should be flexible enough to conform to any curve that the mirror might have. The water is sprayed onto the surface of the mirror before grinding. If your mirror is not made of Zerodur or fused silica or ULE, then the water is important for cooling, too. Don’t let the surface that you are grinding get hot. Glass will often crack if you heat it locally. (Some parts expand, some parts don’t, and the stresses in the area between can be very large.)
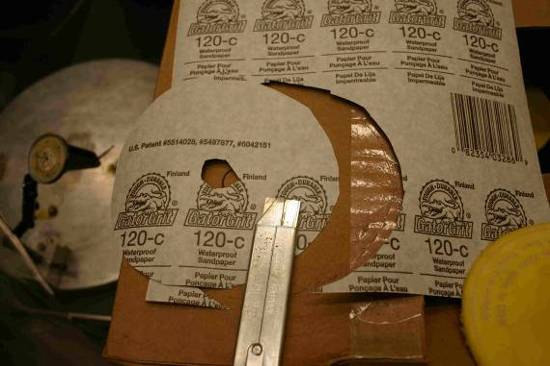
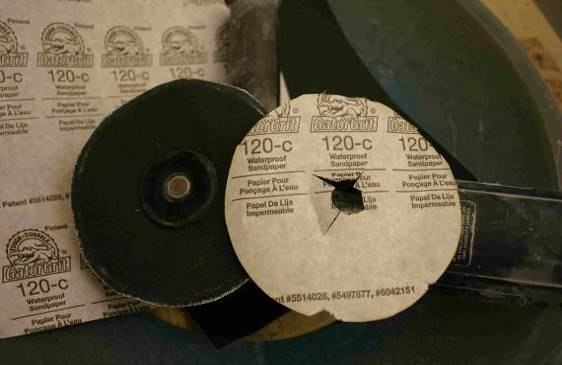
For rough sandpaper, I prefer sheets of 3M’s Wet-or-Dry paper in a 120 grade. I cut circles out of the sheets to fit the mini-grinder.
You can cut sandpaper to any desired shape by cutting it from the back (the side that doesn’t have the sand glued on) using a boxcutter and lots of razor blade inserts.
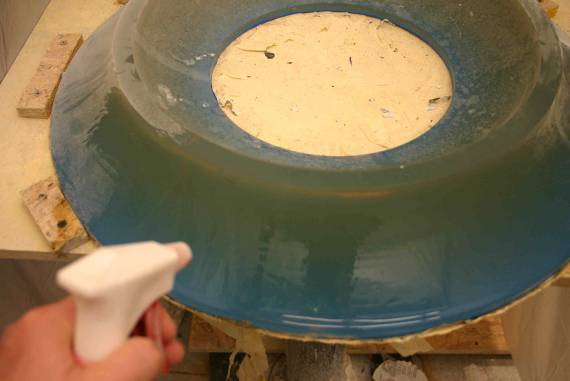
Now you are ready to put on the face mask, insert the ear plugs, apply water, and start smoothing out those grinding marks.
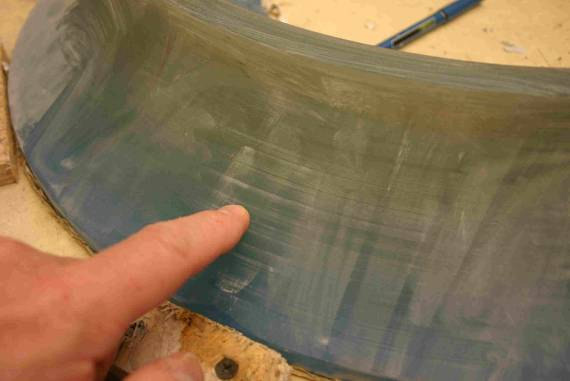
While you are grinding, check the surface to make sure you don’t change any curve that the glass might have. It was probably put there originally for a reason. The mini-grinder can remove glass surprisingly fast, and it will leave its own grinding marks, which have to be removed with subsequent fine grinding using finer grades of sandpaper.
Also, check the sandpaper frequently. It disintegrates pretty easily, and spinning the plastic backing plate against the mirror is not good for either the plate or the mirror.
With a little care, you can remove all of the rough grinding marks without breaking the mirror or wrecking your lungs with the flying glass dust.